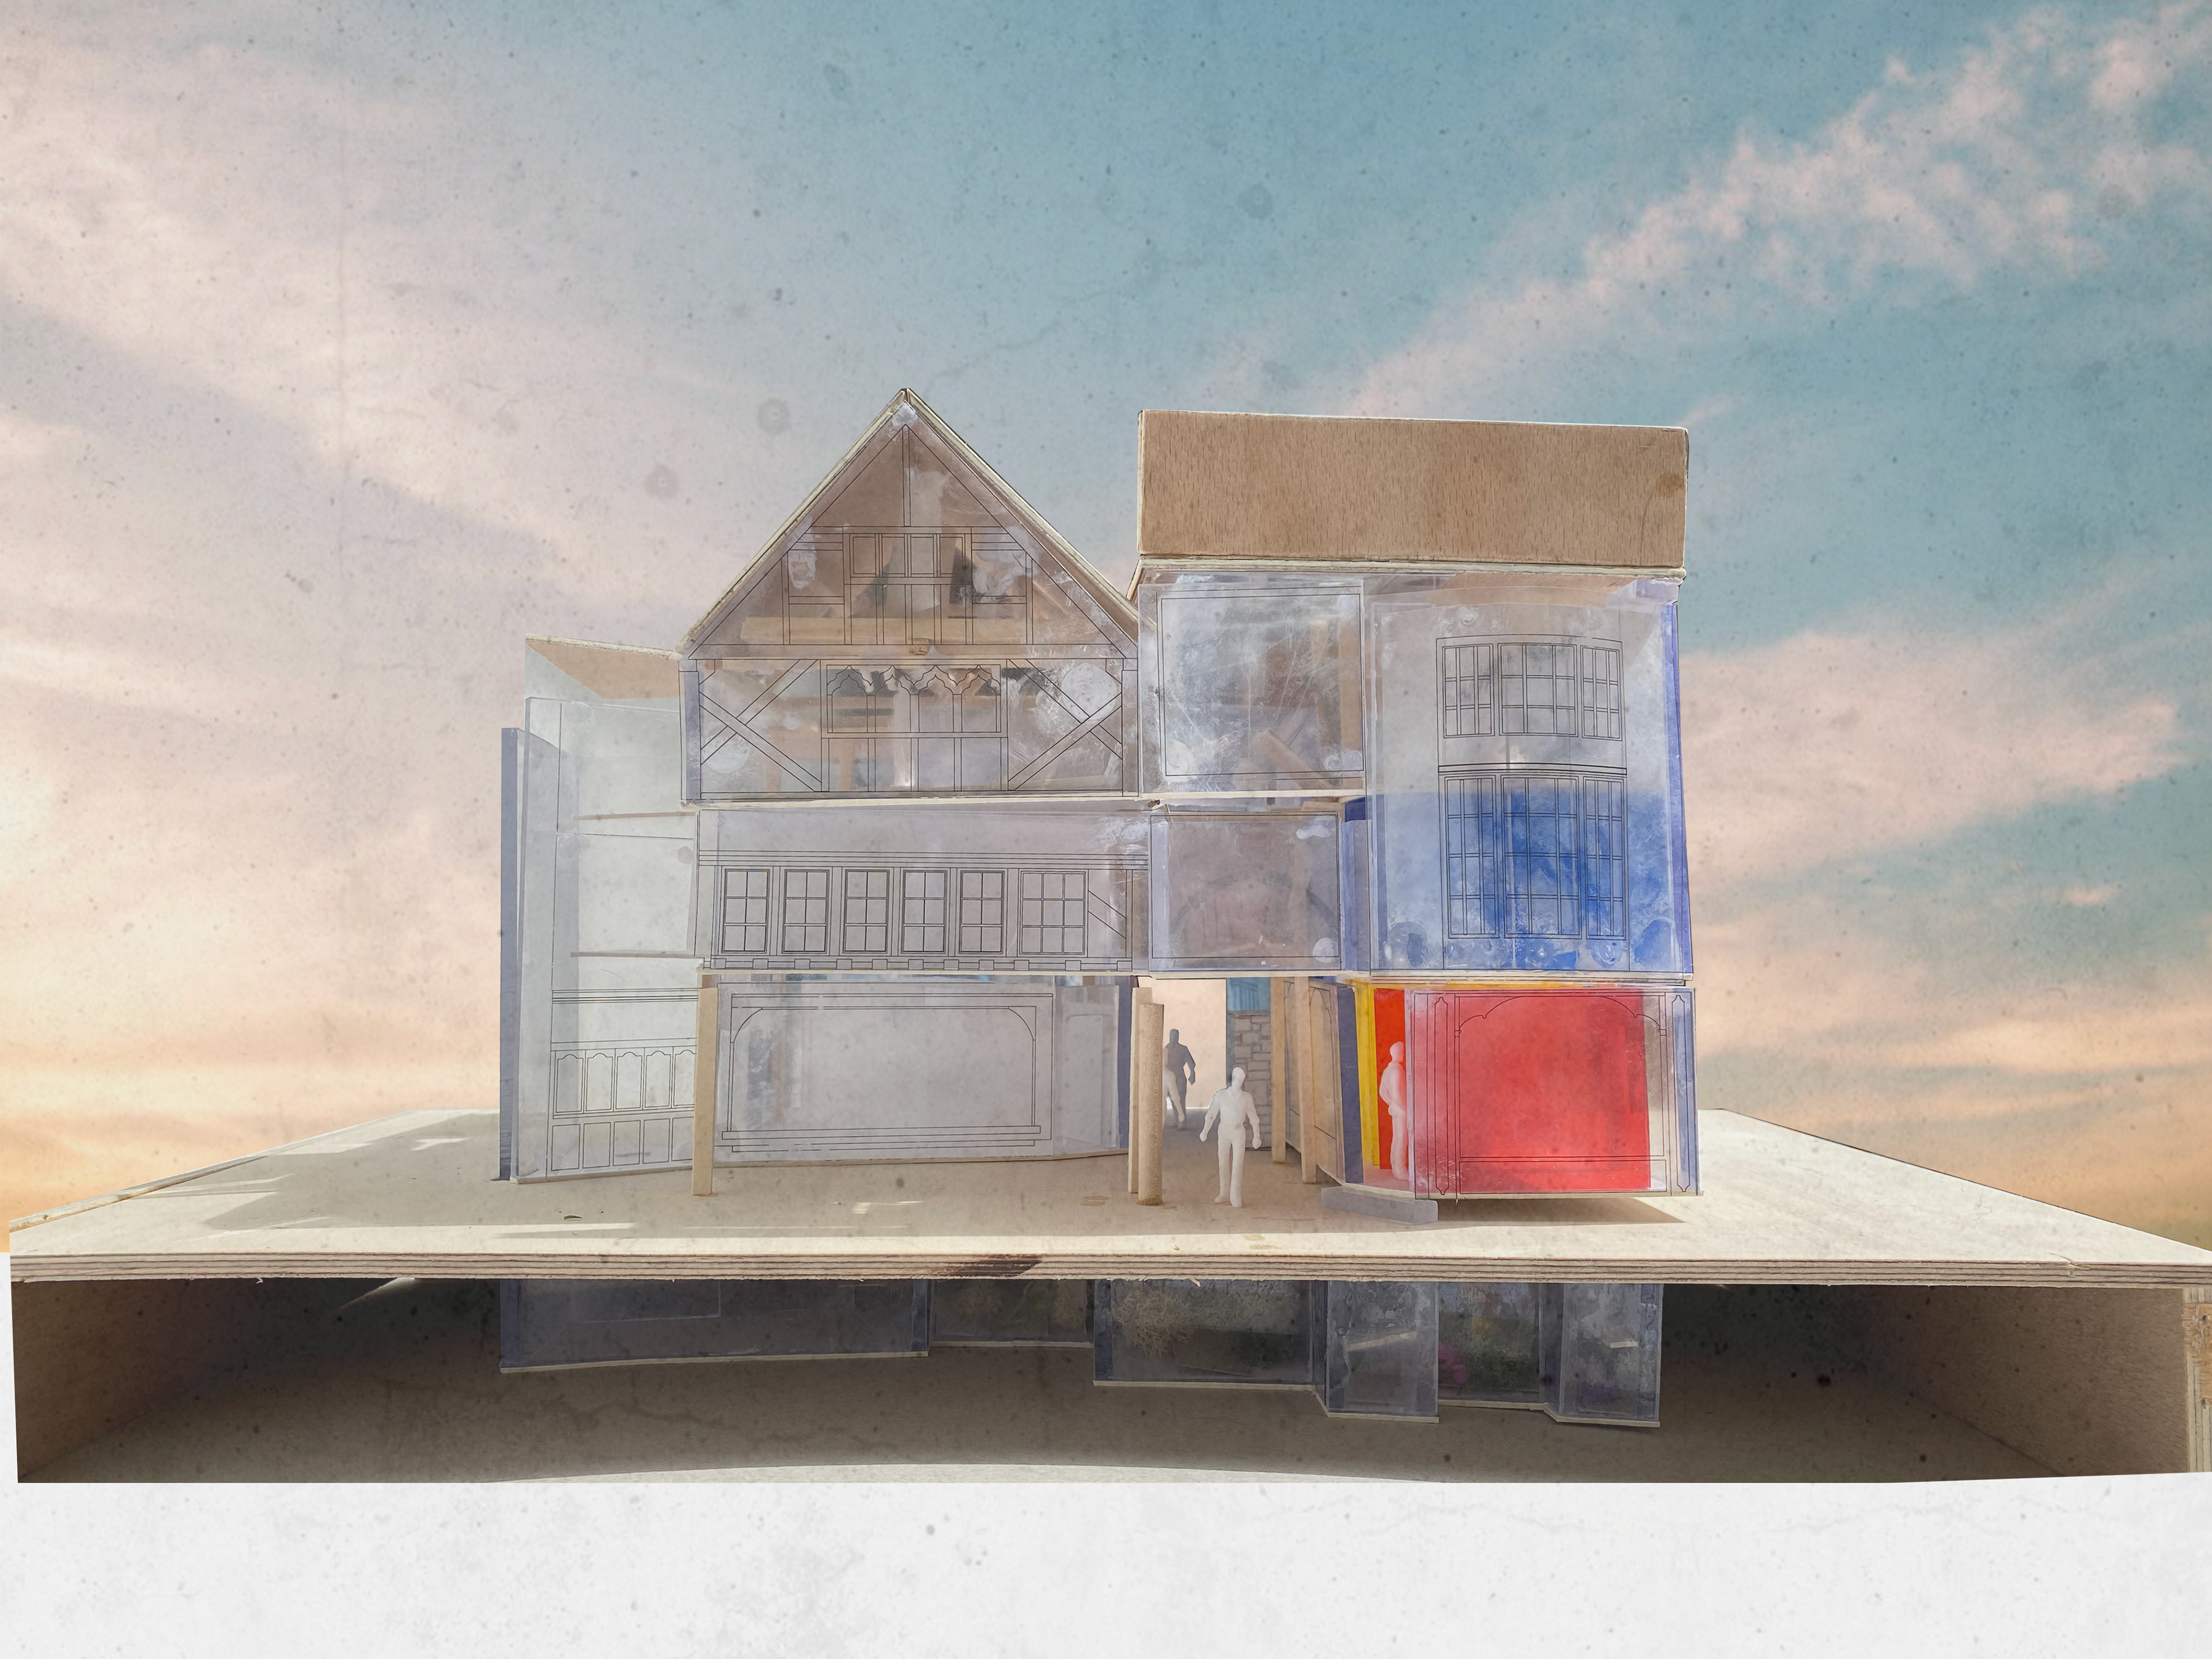
I had been heavily inspired by an image of a model I saw during a presentation given by Michael, which showed a clear acrylic, laser cut building, which perfectly showed the internal amendments and design inside the building through the clear material.
I really liked the idea of creating my own building this way, using laser cut clear acrylic to create the important, detailed façade of my building. The façade of the building I have chosen for my final portfolio project really lends well to the narrative and symbolism of my design concept, since the two buildings that sit next to each other appear quite contrasting - one displays very old-fashioned Tudor detailing, and the other has a fairly plain minimalistic grey render. My concept focuses on the contrasting of opinions amongst our society, and its experience will try to challenge its users existing, old opinions of something, to look instead at it in a new light.
I also really liked the combination of the clear acrylic walls of the building and the grey board / card board or wood showing the new interior, as this contrast clearly shows the changes made. I think this will be a useful way to communicate my design through my model, since the building I have chosen - due to the nature of the city of Winchester where my site is located - is sandwiched in between many others. One of the most interesting parts of it, the passageway, is also hidden by more building walls, so it would be really useful and effective to be able to see all aspects of the design via this clear material.
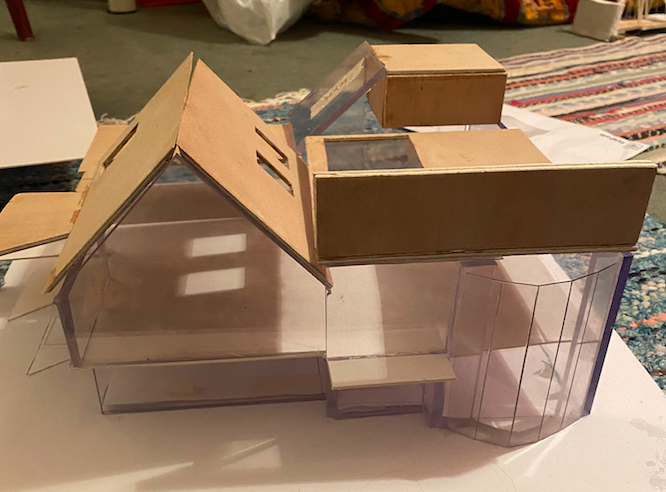

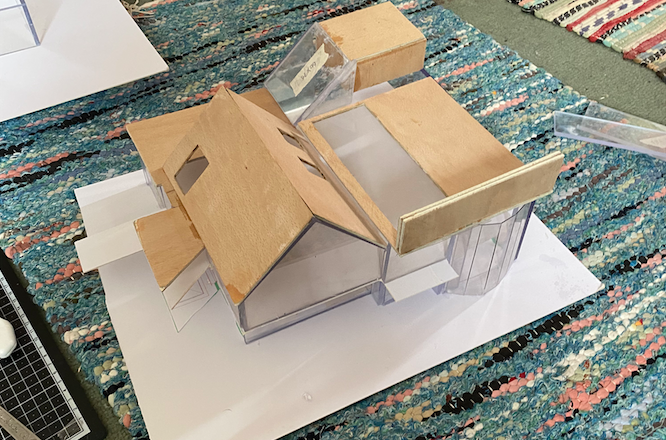
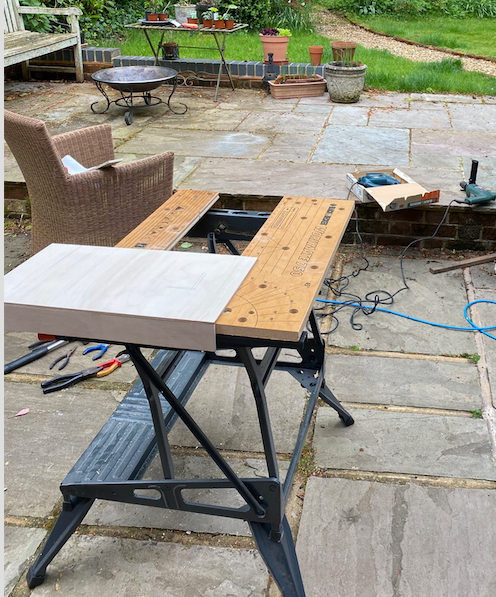

I spent the penultimate weekend until hand in finally putting together my model that I had needed to make adjusted arrangements for, due to the lockdown! To my surprise and amazement, putting the model together didn’t actually take that long – my week of careful planning and preparation had paid off! The trouble came when I superglued the acetate print outs to the clear acrylic walls, as it left horrible smeary marks where the glue had dried. I realise that next time I should probably use a different kind of glue like UHU, which I have used in the past and is strong without any mess. I also worked with the tools in my shed (!) to cut a hole in the wooden model base, so that a continuous wall that spanned from the basement (which I built under the wood board) to level 2 could fit through. This didn’t fill me with confidence in my DIY skills, as the hole wasn’t perfectly straight, however it enabled me to see the possibility of creating a model at home that wasn’t too far off my initial intended model plans.